On this Tab, you can select any combination of employees, cheques, and/or cheque dates. Once you have selected a cheque, the buttons at the bottom of the screen will activate.
If you have only selected one cheque, the Cheque Details will populate on the right-hand side of the screen. You can view but not edit the calculations.
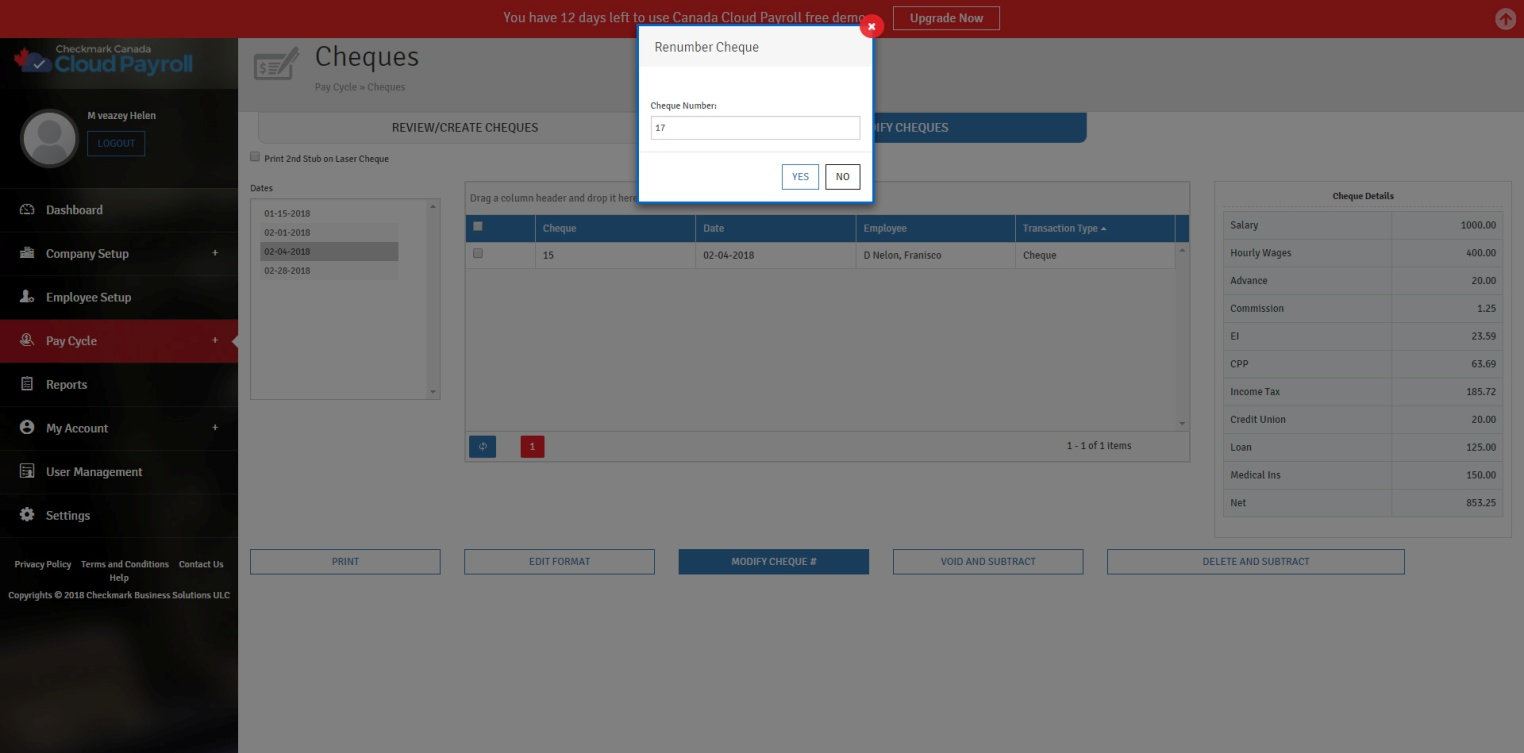
Printing Cheques:
After you have created the cheques, you can print them from the Print/Modify Tab. Printing cheques is not necessary for posting cheque information to the employee’s records, therefore, this step is optional.
Cheques can be printed or reprinted until the Payroll Year is closed. Reprinting a cheque does not affect the employee records.
The cheques that have already been printed will have an asterisk after the cheque number.
To Print Pay cheques, follow these steps:
- Click on the Tab for Print/Modify Cheques under the Cheques section of Pay Cycle.
- Select the Date or Dates.
- Check the checkbox next to each cheque you want to print.
- If you want to print all of the cheques listed, check the top checkbox, and it will check all of the listed cheques.
- Check the checkbox to Print 2nd Stub on Laser Cheque, if applicable.
- If this option is checked, a second stub will be printed on the bottom third of an 8 ½” by 11” laser cheque.
- Check the checkbox for CPA Standard, if applicable.
- Click “Print” at the bottom of the screen.
- Confirm that the cheques look correct on the print preview.
- Click the save icon to save the cheques in different formats. OR
- Click the print icon to download a PDF of the cheques that you can save. or print.
You can verify the print alignment for your specific printer by printing a cheque onto a blank piece of printer paper. Then, hold a blank cheque underneath the printed cheque values to test the alignment. You may need to hold the two pieces up to some light to see it well.
If one or more cheques jam in your printer, you can reprint from the same PDF that you downloaded, or you can print from CheckMark Online Payroll (Canada) again to generate a new PDF with the same cheque numbers. If you use pre-printed cheque stock and need to assign a new cheque number to reprint, please see “Editing/Modifying Cheques” on page 78.
Editing the Cheque Format:
You can edit the cheque format and reposition the fields that print on cheques to align the printing for your particular printer.
To Edit the Cheque Format, follow these steps:
- Click on the Tab for Print/Modify Cheques under the Cheques section of Pay Cycle.
- Click the button for “Edit Format” at the bottom of the screen.
- Make the necessary changes.
- To move a field, click on the field and drag it to the new location.
- To prevent a field from printing, double-click the field. The field’s name will change from “black” to “red.”
- To enable a disabled field, double-click on the disabled field. The field’s name will change from “red” to “black.”
- Click on the red “X” in the top left-hand corner of the screen.
- Click “Yes” on the screen that comes up to ask if you want to save your changes.
You can also click the “Default” button at the top of the Format screen to revert to the default format.