Reconciling Your Bank Balances
Use the following steps to reconcile your bank balances.
- Click Bank Reconciliation in the Command Center.
- If necessary, select the Cash Account that corresponds to the bank statement.
The default cash account is the one assigned on Interface Accounts. You can change accounts by clicking on the current cash account and selecting a new account from the pop-up list.
For more information about the Cash Account field, see “Bank Reconciliation Field Descriptions” on page 209.
- If necessary, edit the Cutoff Date.
The Cutoff Date is filled in automatically with the current date.
The Cutoff Date determines the last date that will be reported. For example, by entering the last date of a previous month and clicking Get Transactions, all outstanding cheques and deposits as of that date will be reported. The Ledger Balance will also be as of the Cutoff Date.
The Cutoff Date must be a valid transaction date from any open month.
- Enter the ending balance from your bank statement into the Bank Statement Balance field.
- If desired, check Sort by Ref #.
If Sort by Ref # is checked when you click Get Transactions, the transactions will be listed from the lowest to the highest reference number. Otherwise, the transactions are listed from the earliest to the most recent transaction date.
Note: If Sort by Ref # is checked, numeric reference numbers are sorted first before alpha reference numbers. For example, cheque number “5500” would come before document number “Dep138.”
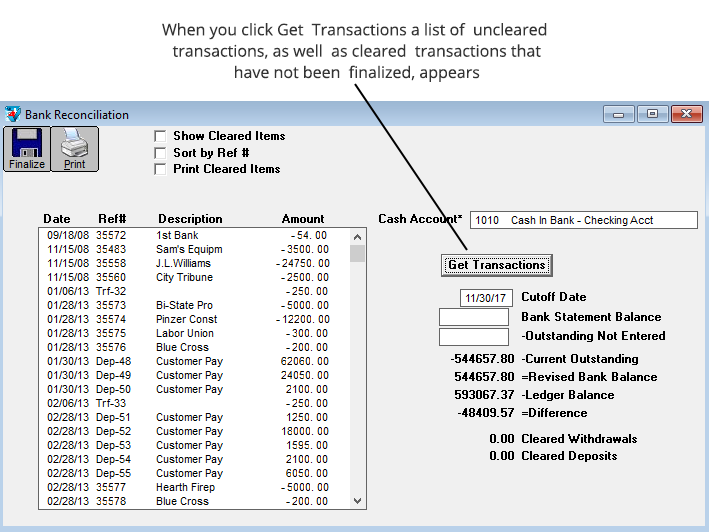
- Click Get Transactions.
The list includes uncleared transactions, as well as cleared transactions that have not been finalized.
- For each transaction shown on your bank statement, find the corresponding transaction in the list and click it to mark it as cleared.
Disbursements or cheques are shown as negative amounts. Deposits are shown as positive amounts.
A checkmark (√- Macintosh) or an asterisk (* – Windows) appears to the left of transactions that you have marked as cleared, and the item will change color. If you accidentally mark a transaction as cleared, click it again to un-clear it and remove the mark.
You can mark multiple lines as cleared by dragging on the appropriate transactions.
MultiLedger Canada keeps a running total for cheques and deposits you’ve marked as cleared in the Cleared Withdrawals and the Cleared Deposits fields.
Note: Attention Checkmark Canada Desktop Payroll Users: Employee cheques imported from Canada Desktop Payroll to MultiLedger Canada show “PR [posting date]” under the Ref # heading, and cheque numbers under the Description heading. Employer cheques use the cheque number assigned in Canada Desktop Payroll as the Ref #.
- When you are finished checking off cleared transactions, =Difference should be 0.00.
If =Difference is 0.00, you have successfully reconciled your bank balance.
If =Difference is not 0.00, see “Bank Reconciliation Tips” on page 214 and “Bank Reconciliation Problems” on page 215
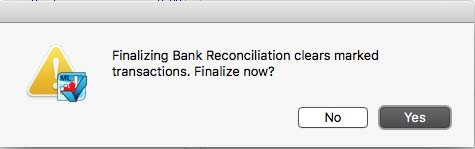
- When you’re finished reconciling the bank account, click Finalize.
If the bank reconciliation is in balance, you will get the following message:
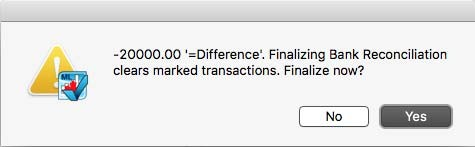
If the bank reconciliation is not in balance, you will get the following message:
Click No to not save the bank reconciliation data.
Click Yes to save the bank reconciliation data. Once finalized, cleared transactions no longer appear when you click Get Transactions (unless Show Cleared Items is checked).